Hungry? This Pizza Should Satisfy the Hungry!

I don’t make this pizza too often because it’s got Sliced Deli Turkey Meat on it, and as you probably know, deli sliced meats have nitrates or other artificial preservatives that aren’t so great for us. But this Turkey Pizza rocks! And I guess a little once in a while won’t hurt.
Now if you prefer a healthier pizza, you can use switch the meat to any other organic free range raised meat. For example, you can totally change the flavor of this one from a salty turkey flavored pizza to another type of flavor for example like a BBQ Chicken Pizza instead. To do that all you’d need to have is some freshly cooked, diced chicken breast and have some BBQ sauce on hand. Then you’d just drizzle a little BBQ sauce directly on top of the chicken pieces only and it is delicious. That’s what I call my Sicilian BBQ Chicken Pizza, which is also good.
But I think you should try this BRAZILIAN SICILIAN TURKEY PIZZA first! The last few times I made this I changed it up a little bit. Instead of the olives I made it taste more like a fake Canadian bacon and pineapple just by using the turkey with pineapple. You almost couldn’t taste the difference.
Click to see the whole assembly process with detailed pictures >>
This One will Satisfy a Family of 4 Very Hungry Humans
Three pieces of this pizza per person should do the trick. I actually can eat 4 slices without a problem when I’m very hungry, but that’s just me. I love Pizza, and can put it down quickly.
If you don’t know how to make pizza dough for a pizza then you can get either online somewhere or from my cookbook called “Italian Cookbook of Famous Recipes” and all of the details are there on how to make a regular Sicilian Pizza. Then just follow these pictures and layers of ingredients here.
Just know this one thing. If you use deli turkey meat, the end result of this pie will be a little on the salty side. That’s a good thing. You can always balance that out by adding something sweet or pineapple like I have done recently.
Just remember not to add too much turkey. And also remember that you do “not” want to add regular fresh turkey. You want the deli sliced turkey meat for this one since it has a salty flavor and get it sliced thin.
So “do not” put extra salt in the sauce or on top of the pizza. You can always add it later when it’s finished if you like. You can however drizzle a little sweet tasting olive oil on top as a final topping before baking this.
Also, I would pass on the idea of using smoked flavored deli turkey meat because it was overkill when I made it once and I didn’t like the flavor. Trust me that the Smoked Turkey meat for this recipe was a little too rich in flavor. It seemed to overpower all the other flavors. So you don’t have to learn the hard way like I did.
The regular deli turkey flavor should blend well with the flavors in this pizza. Some examples of the regular turkey meat that should be good for this recipe are: Oven Roasted Turkey, or Honey Baked Turkey. They are not smoked and should both be fine.
Last precautions:
1) Do not put too much stuff on top of this pizza. Little is better when making pizzas. Too much on top, then everything may not cook all the way and you can’t cook this too long because the bottom can burn. So have a light hand except for the sauce and cheese.
2) Don’t lift up the the pizza into the air when halfway baked like I did in the pictures below.
Why? Because it tends to crack the pizza and when it’s time to put the sauce on it will leak through the cracks. You will see little black burn spots in the final picture due to the sauce burning the pan.
3) If using two layers of Mozzarella Cheese like you see in the pictures below, then divide the cheese into half before laying it down. Everything should be on the thin very thin or light side since you are building many layers.
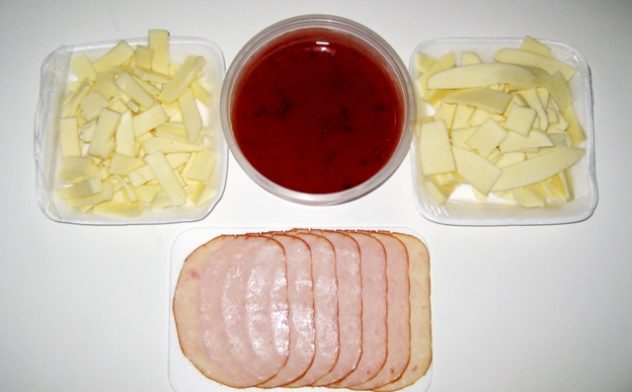
Basic ingredients used for this Sicilian Turkey pizza are: dough, turkey, sauce, Mozzarella Cheese, and then you can use grated Pecorino Romano or Parmigiano-Reggiano or a regular Parmesan cheese. Percorino is the preferred and traditional cheese for Sicilian Pizza. Then second choice would be the Parmigiano-Reggiano.
Anything else you’d like to add is up to you. Lately with this turkey pizza I use pineapple now and skip the olives mushrooms and feta.
You can also do what I do which is: make half with turkey and pineapple and the other half with some mushrooms.
Things used for toppings or flavors:
Grated Cheese, Mushrooms, Feta Cheese, Olives (you can leave the olives off if you don’t want this too salty or tangy!) The turkey meat adds plenty of salty flavor and you may not want more.
I do not add olive oil anymore to pizza until the last 2 minutes of cooking. I use it drizzled lightly as a finishing touch now only while the pizza is still bubbly hot.
You will need to coat the pan and dough however with some cooking oil like sunflower, safflower, or similar, which is less bitter since it soaks into the dough
THE STEPS
- Make your dough
- Then let it rise
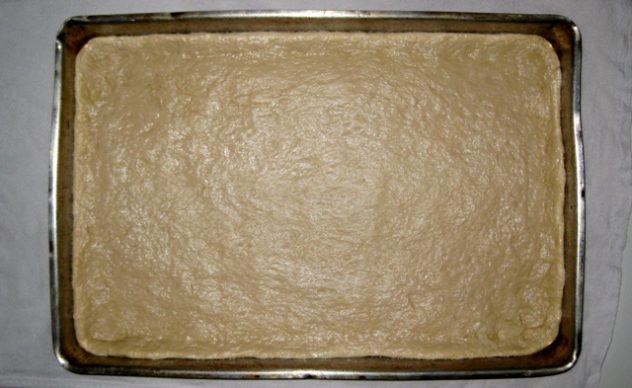
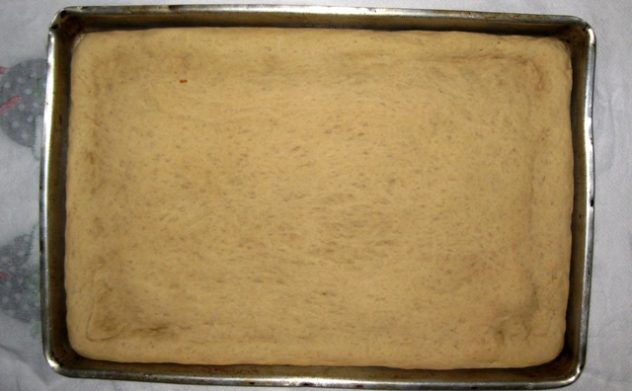
- Then press the dough into the lightly oiled square baker’s half sheet pan, and form the shape. Make sure you have at least a half inch tall border higher than the rest of the dough. You’ll need this to hold the sauce inside. See the pictures below for each step.

- After it is perfectly formed do not touch it again unless you have to fix a corner or side that pulled away from the pan.
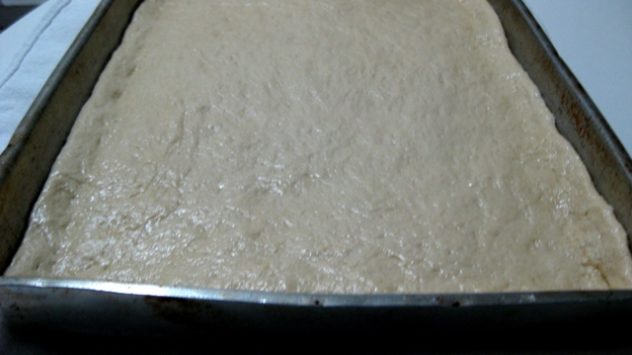
- Then let the dough rise again in the pan until it gets puffy. Do not touch the dough.
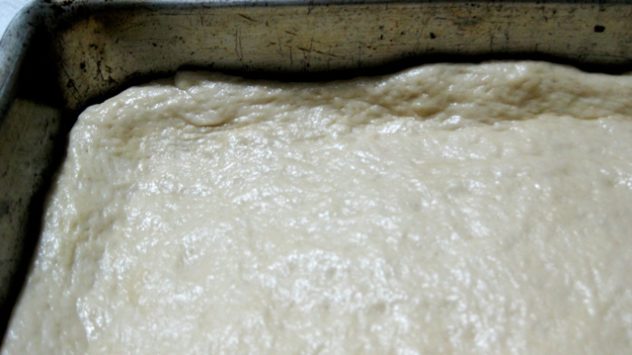
- Half bake the pizza dough for about 12-14 minutes at about 350-375 F. SEE PICTURE BELOW SHOWING THE DOUGH COOKED AFTER ABOUT 14 MINUTES.
- Do not check the bottom of the pizza as I have done in this picture. You’ll see that it’s a very light golden color it’s time to remove the pan from the oven to let it cool for about 30 minutes. THERE IS NO NEED TO DO THIS!) I recently checked the bottom of the dough and it must have make a small crack in the center where I bent it and sauce leaked through the bottom. You can however loosen the edges with a butter knife but I don’t recommend lifting it up anymore. So don’t do what you see me doing in this picture! I just left the picture here so you can see what the bottom looks like after about 14 minutes or so.
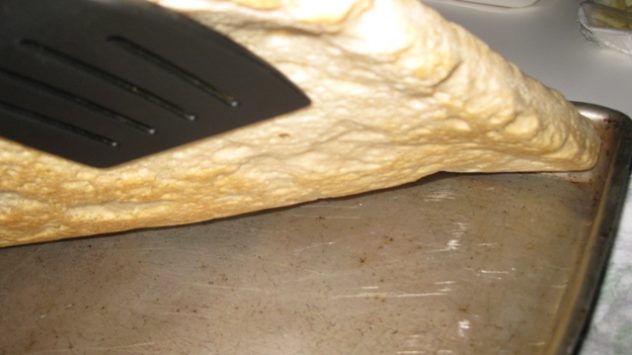
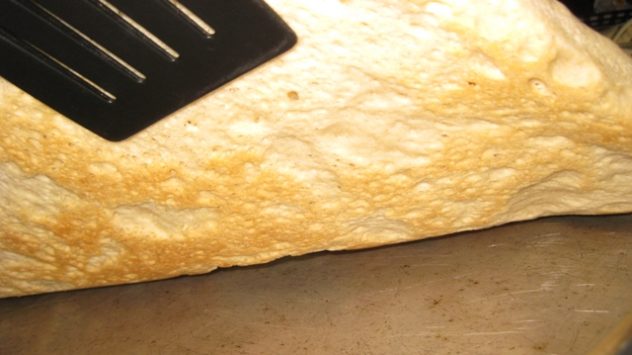
You can “gently” loosen the edges and corners of the pizza with a spatula. A thin flexible one is best. But like I said in step #7 that is all I recommend doing. DO NOT lift it up not even the corners because they can crack then lots of sauce will escape and burn the bottom of the pizza. This picture now is to show you what not to do!
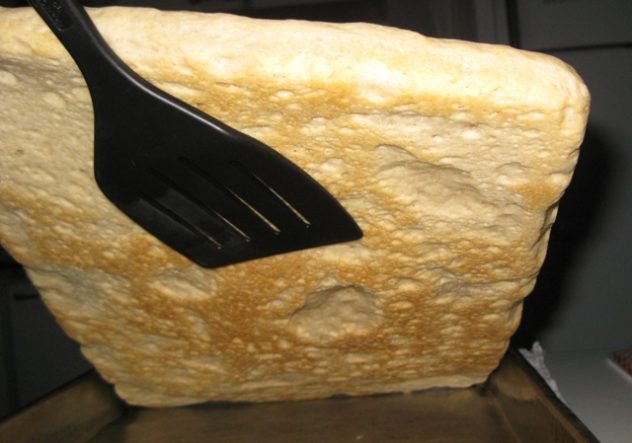
But do not take the pizza out of the pan and “do not lift it up too high” like I did in this picture.
I did that just to show you what it’s supposed to look like. If you do this the center of the pizza will crack and lots of the sauce will leak through the center and make the crust soggy and “burn” the bottom. Ask me how I know this. You are just going to lift up one or two corners just enough (like 3 inches) to peak under to see if the bottom looks like this.
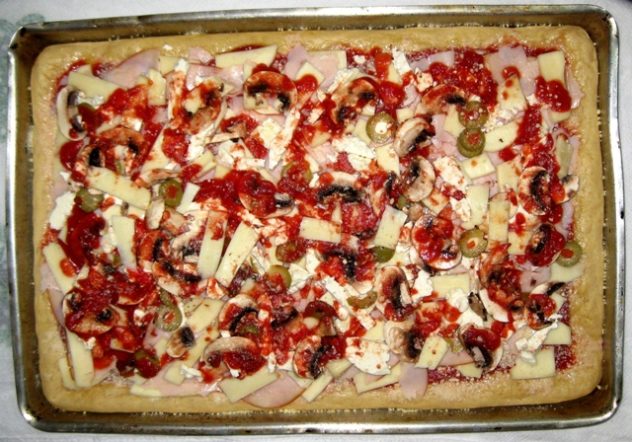
After the pizza is cooled for about 30 minutes you can assemble the layers.
8. Place your sauce down like this. Be generous this is a Sicilian Pizza.

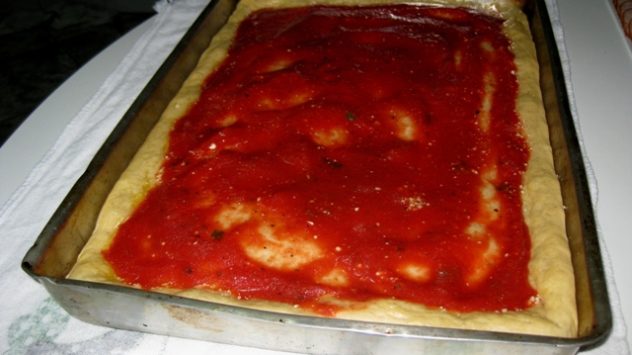
9. Sprinkle generously some grated “Pecorino Romano Cheese”, like I said before which is the traditional and preferred grated cheese for this pizza pie. If you can’t find it in the store, you can use some Parmigiano-Reggiano Cheese instead or a combo of both. Sometimes in stores you can find the combo pre-mixed and grated already in a bottle. I like using fresh grated cheese. They even grate it fresh for you in some stores and pour it into a to-go container. Now that’s some good service. After the grated cheese is on the sauce then you add your Mozzarella on top of that as show in picture below.


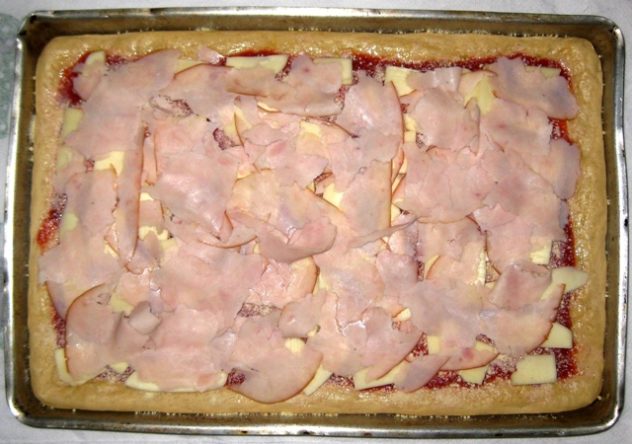
10. Next a “thin” layer of the turkey. Make sure it’s paper thin. It’s more for flavor than anything.

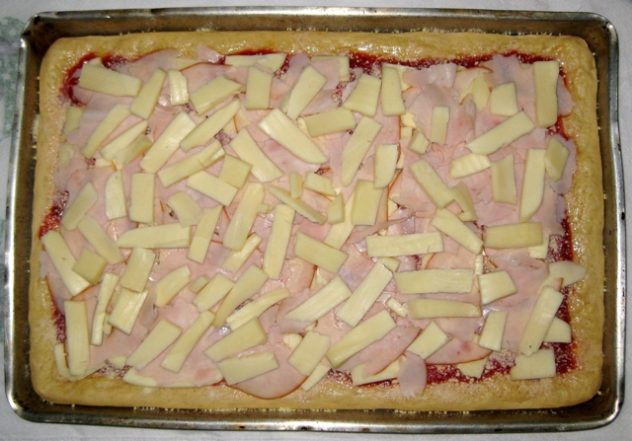
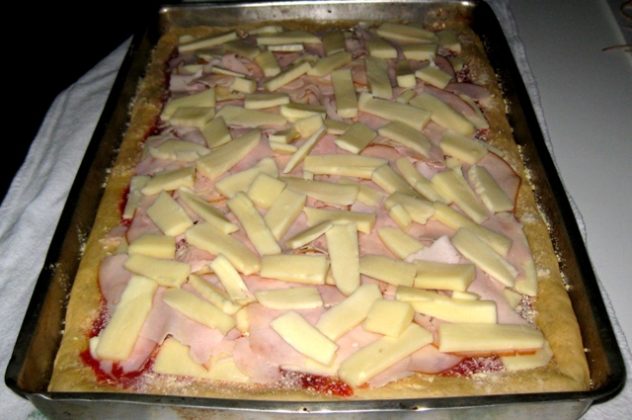
11. Next a little more Mozzarella Cheese.
12. Next some toppings. I choose a couple handfuls of some freshly slicked mushrooms, and just a few thinly sliced green olives sprinkled around. And then topped with a few spoons of sauce and then finally a light sprinkle of some more grated cheese.
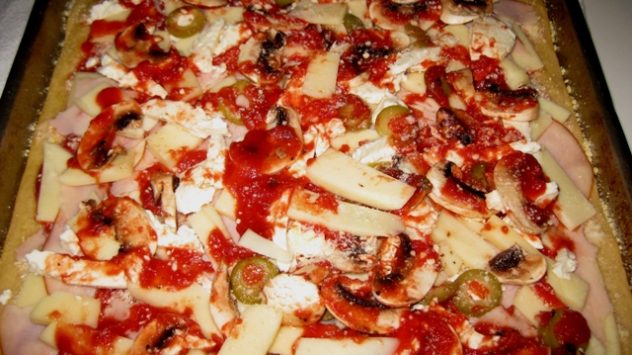
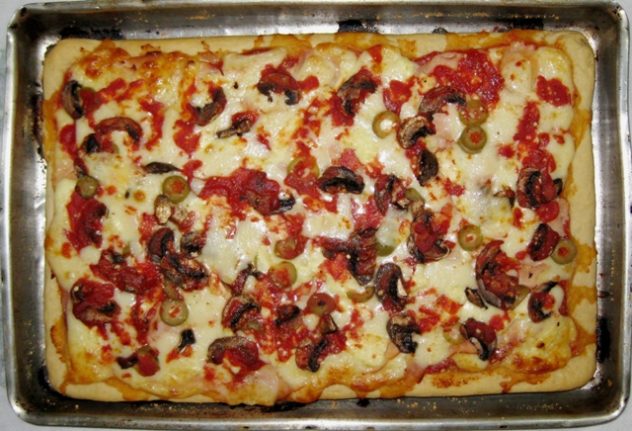
13. Next bake for about 20 more minutes at the same temp until the cheese is well melted as in this picture. Do not burn the cheese. If you burn the cheese the pizza is ruined. A couple of golden brown spots as shown in this picture are perfect. Any more than that will dry out the cheese and possibly overcook or burn the bottom crust of the pizza.

14. Cut into 12 big slices, serve and enjoy!

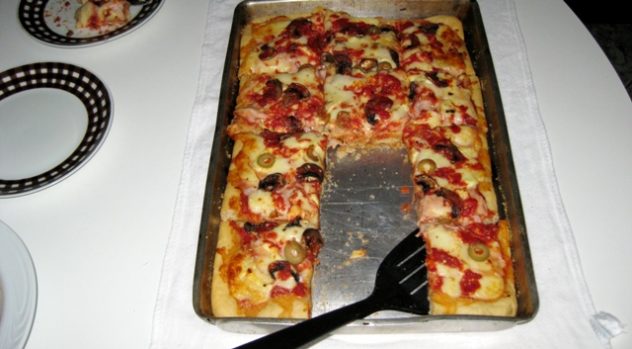
If you don’t finish this large pizza or you are a slow eater and it gets cold just reheat the slices in either a toaster oven or place a slice or two onto aluminum foil and place back in the oven for 5 to 10 minutes.
Don’t use a microwave to reheat slices of this pizza you worked so hard to make. It will make it soggy!
Hope you enjoy this as much as we do.
Any questions or comments? Feel free to post them here.